Applications for purchasing proxies for Windows, MacOS, and Linux platforms

Check out the main features:

Login and Registration

Watch the video tutorial on how to use it

MacOS
Download the application for MacOS
Windows
Download the application for Windows
Linux
Download the application for Lunux

*Doesn't work on phones and tablets

Answers to frequently asked questions about applications

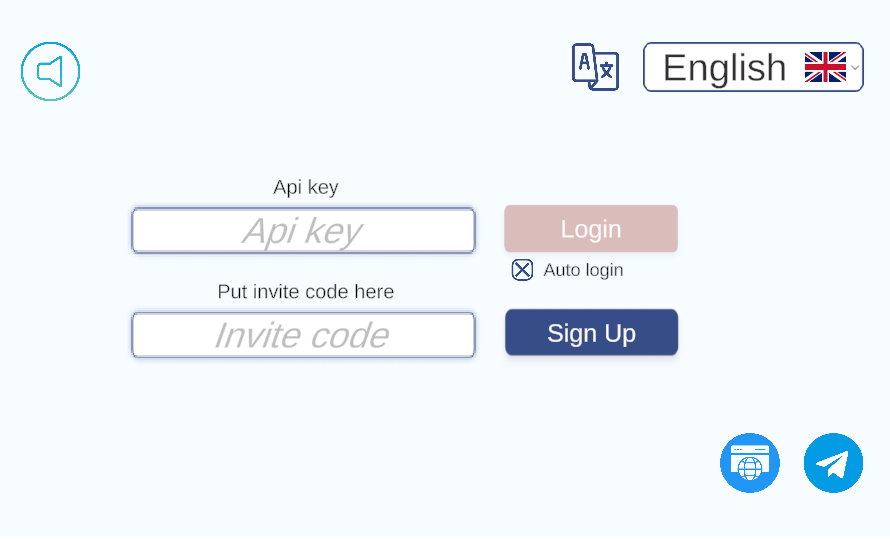
To make a purchase, you need:

  1. Select country, region, city
  2. Select the desired proxy
  3. Click the left mouse button (the purchase window will open).
  4. At the top (roughly in the center), you can check the “Auto-renewal” box. If you rent for 1 month, the proxy will automatically renew for 1 month. If you rent for a different period, the proxy will renew for 1 day (each time, until canceled).
  5. Just below, you will see the “Public-Private” switch. If you select “Private”, only you will be able to use the proxy, and it will disappear from public access. If you select “Public”, the proxy will remain in public access and be available for purchase by all users.
  6. Next, you need to select the proxy rental period. The cost is calculated based on the selected rental period and the “IPQS” and ‘Scamalitics’ indicators, as well as the “Private/Shared” selection.
  1. Select country, region, city
  2. Check the box to the right of each proxy and click the “Buy selected” button at the top.
  3. At the top (roughly in the center), you can check the “Auto-renewal” box. If you rent for 1 month, the proxy will automatically renew for 1 month. If you rent for a different period, the proxy will renew for 1 day (each time, until canceled).
  4. Just below, you will see the “Public-Private” switch. If you select “Private”, only you will be able to use the proxy, and it will disappear from public access. If you select “Public”, the proxy will remain in public access and be available for purchase by all users.
  5. Next, you need to select the proxy rental period. The cost is calculated based on the selected rental period and the “IPQS” and ‘Scamalitics’ indicators, as well as the “Private/Shared” selection.

IMPORTANT!

  1. Only a non-working proxy can be returned.
  2. Each proxy has only one return attempt! The button can only be pressed once!
  3. If you clicked the return button, but the proxy is online, the attempts will end!
  4. You cannot return a non-working proxy if you have already clicked the button!

To process a refund, please follow these steps:

  1. Log into your account.
  2. Go to the “Order History” or “Proxy History” menu.
  3. Find the proxy you need and click the “Refund” button.

That's impossible!
There's no need to write to technical support!
Only non-working proxies can be returned, independently in  Proxy History.

If you lose your KEY, you will not be able to access your account.
We do not provide any services to restore access.
Please make sure to keep your KEY in a safe place.
We value your anonymity and privacy.

We value your anonymity and privacy.

Our service does not require you to provide personal information such as your email address, phone number, etc.

We only store the login used for authorization.

We do not provide login recovery services. We recommend that you keep your login details in a safe place.

This could be on paper, in a secure file, or using other methods.

You could even get a tattoo if that suits you.

If you lose your login details, you will not be able to access your account. We do not provide any services to restore access. Please make sure you keep your login details in a safe place.

  1. Web Application works on the principle of an "Application in a Browser".
  2. The connection is built through CloudFlare (make sure that your ISP does not block connections to it)
  3. For comfortable work you will NEED FAST INTERNET (connection speed 1-2 Mbps is NOT suitable)

If you need to extend your rental, for example from 1 hour to 1 month, do the following:

  1. Go to “Proxy History
  2. Find the proxy you need (new purchases are at the top of the list).
  3. Select the checkbox and click “Buy selected” at the top.

NO. The web application can ONLY be used on a computer! It will not work on a phone!

Your INVITE CODE is located in your Profile. Copy it from the “Invite Code” field.

To fulfill the conditions, your friend must make their first deposit.

After fulfilling the conditions:
You receive $5 once + 5% of each deposit made by your friend.

They receive $5 for registering with your invitation code + a $5 WELCOME BONUS.

If the deposit is $10, another $10 will be added to it!

*Bonuses are subject to change, so stay tuned for updates.

To transfer your balance to another account or gift the desired amount to a friend, follow these steps:

  1. Log in to your account
  2. Go to the Wallet menu
  3. Click the “Issue Gift Card” button.
  4. In the “Enter Gift Amount” field, enter the amount you want to transfer or gift.
  5. Click the “Issue” button.
  6. In the field below, copy the gift code you received and use it as intended.

To activate the gift code, you need to do the following:

  1. Log in to your account
  2. Go to the Wallet menu
  3. Enter the code you received in the “Enter gift card” field and click the “Activate Gift” button.

There is a magic button called “Show IP” in the purchase window.

deneme bonusu fırsatları

Deneme Bonusu Veren Siteler 769 TL

En iyi deneme bonusu veren siteler listesi. 769 TL bedava deneme bonusu kampanyası ile çevrimsiz casino bonusları. Güvenilir casino siteleri, hoşgeldin bonusu fırsatları ve şartsız bonus teklifleri.